The Zaiper Integration addon for Quiz and Survey Master allows you to send results from the quiz being taken to Zapier.
INSTALLATION/SETUP
Once you have purchased the addon, you will have access to download the addon. To install, simply upload the addon as a normal WordPress plugin. To do so, go to the Plugins page and click Add New. Then, click Upload. From there, upload the zip file that you downloaded when downloading the addon.
Once the addon has uploaded, you should now have the plugin QSM – Zapier Integrations listed in your list of plugins. Activate that plugin. Once activated, the plugin will add a new tab in your Addon Settings page.

SETTINGS/CONFIGURE
To set up the plugin, first, go to the Addon Settings page and enter your license key on the Zapier tab. Then, we must log into Zapier and retrieve the webhook for your zap. So, open a new tab or window and log into your Zapier. Once logged in, click on Make A Zap.

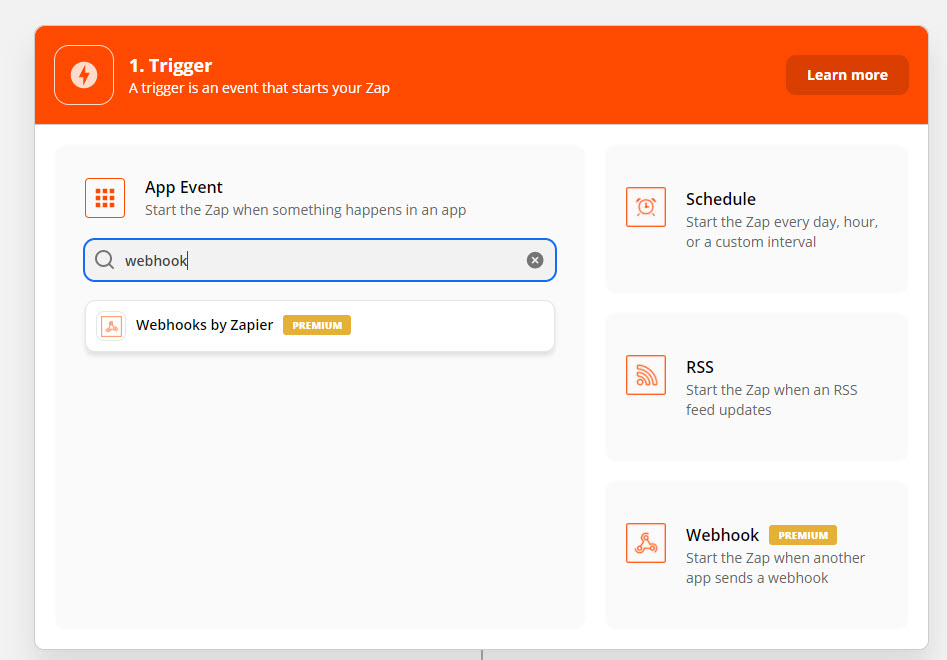
Search for “Webhooks by Zapier” for the Trigger.

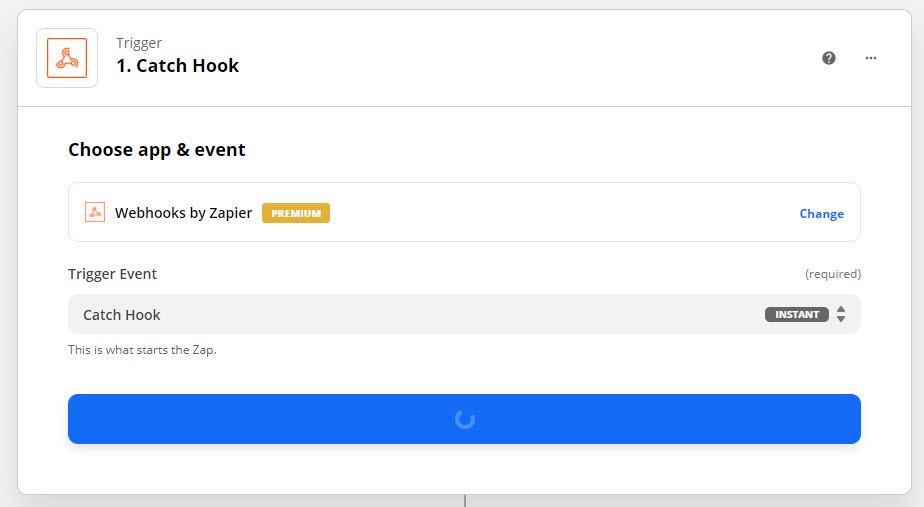
Select “Catch Hook” and then click the “Save + Continue” button.

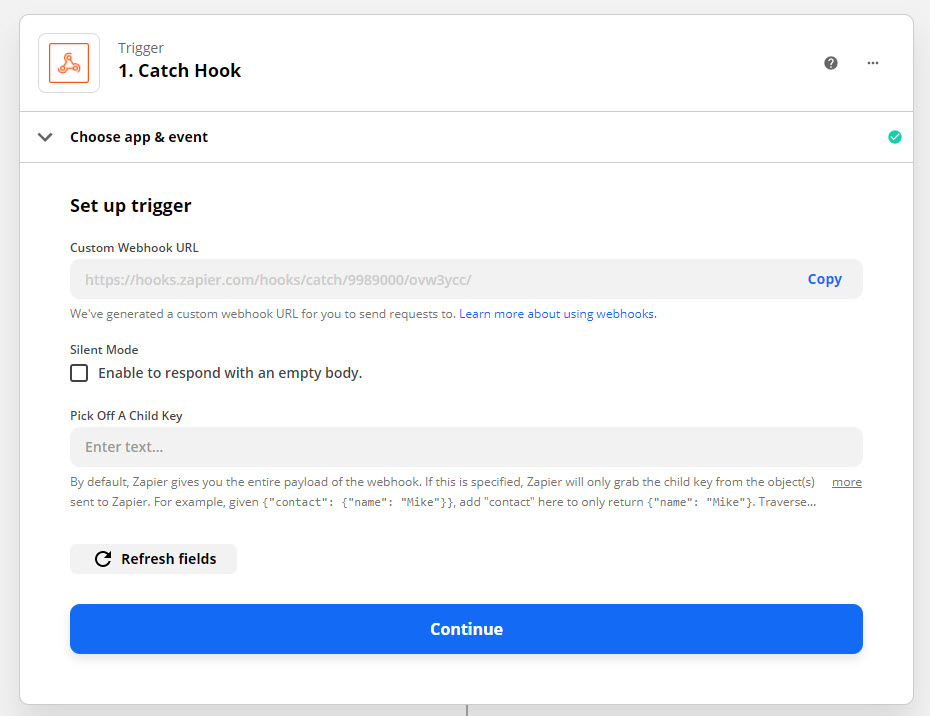
Now, you have to copy the URL in the “Use this:” section. We have to paste it into the Zapier settings. You can set up different webhooks for each quiz. So, to enter this webhook, go edit your quiz and go to the “Zapier” tab.
If you are only after a single value, you can use the webhook options to only grab a child key. This won’t apply to most users so go ahead and click “Continue”.

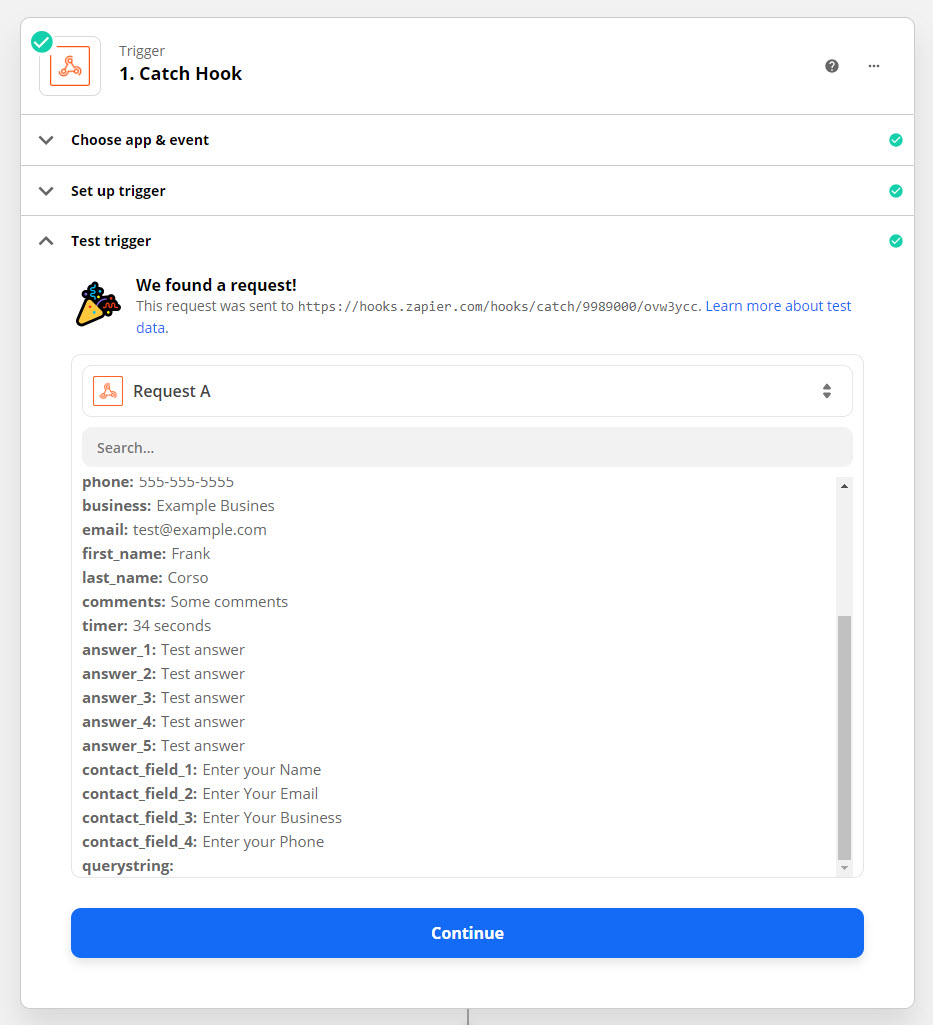
Simply paste in this URL and then click “Save Settings”. Once you save the URL, the addon will automatically send some test data over to Zapier to trigger the test.

Your Quiz And Survey Master trigger is now all set up! You can now continue to set up this zap like you would any other zap. Create your action for where you want the quiz/survey data to go.


