If you are making many style changes to your quiz, you may want to create your own style template which can then be used on all of your quizzes and surveys.
Step 1: Create a CSS File
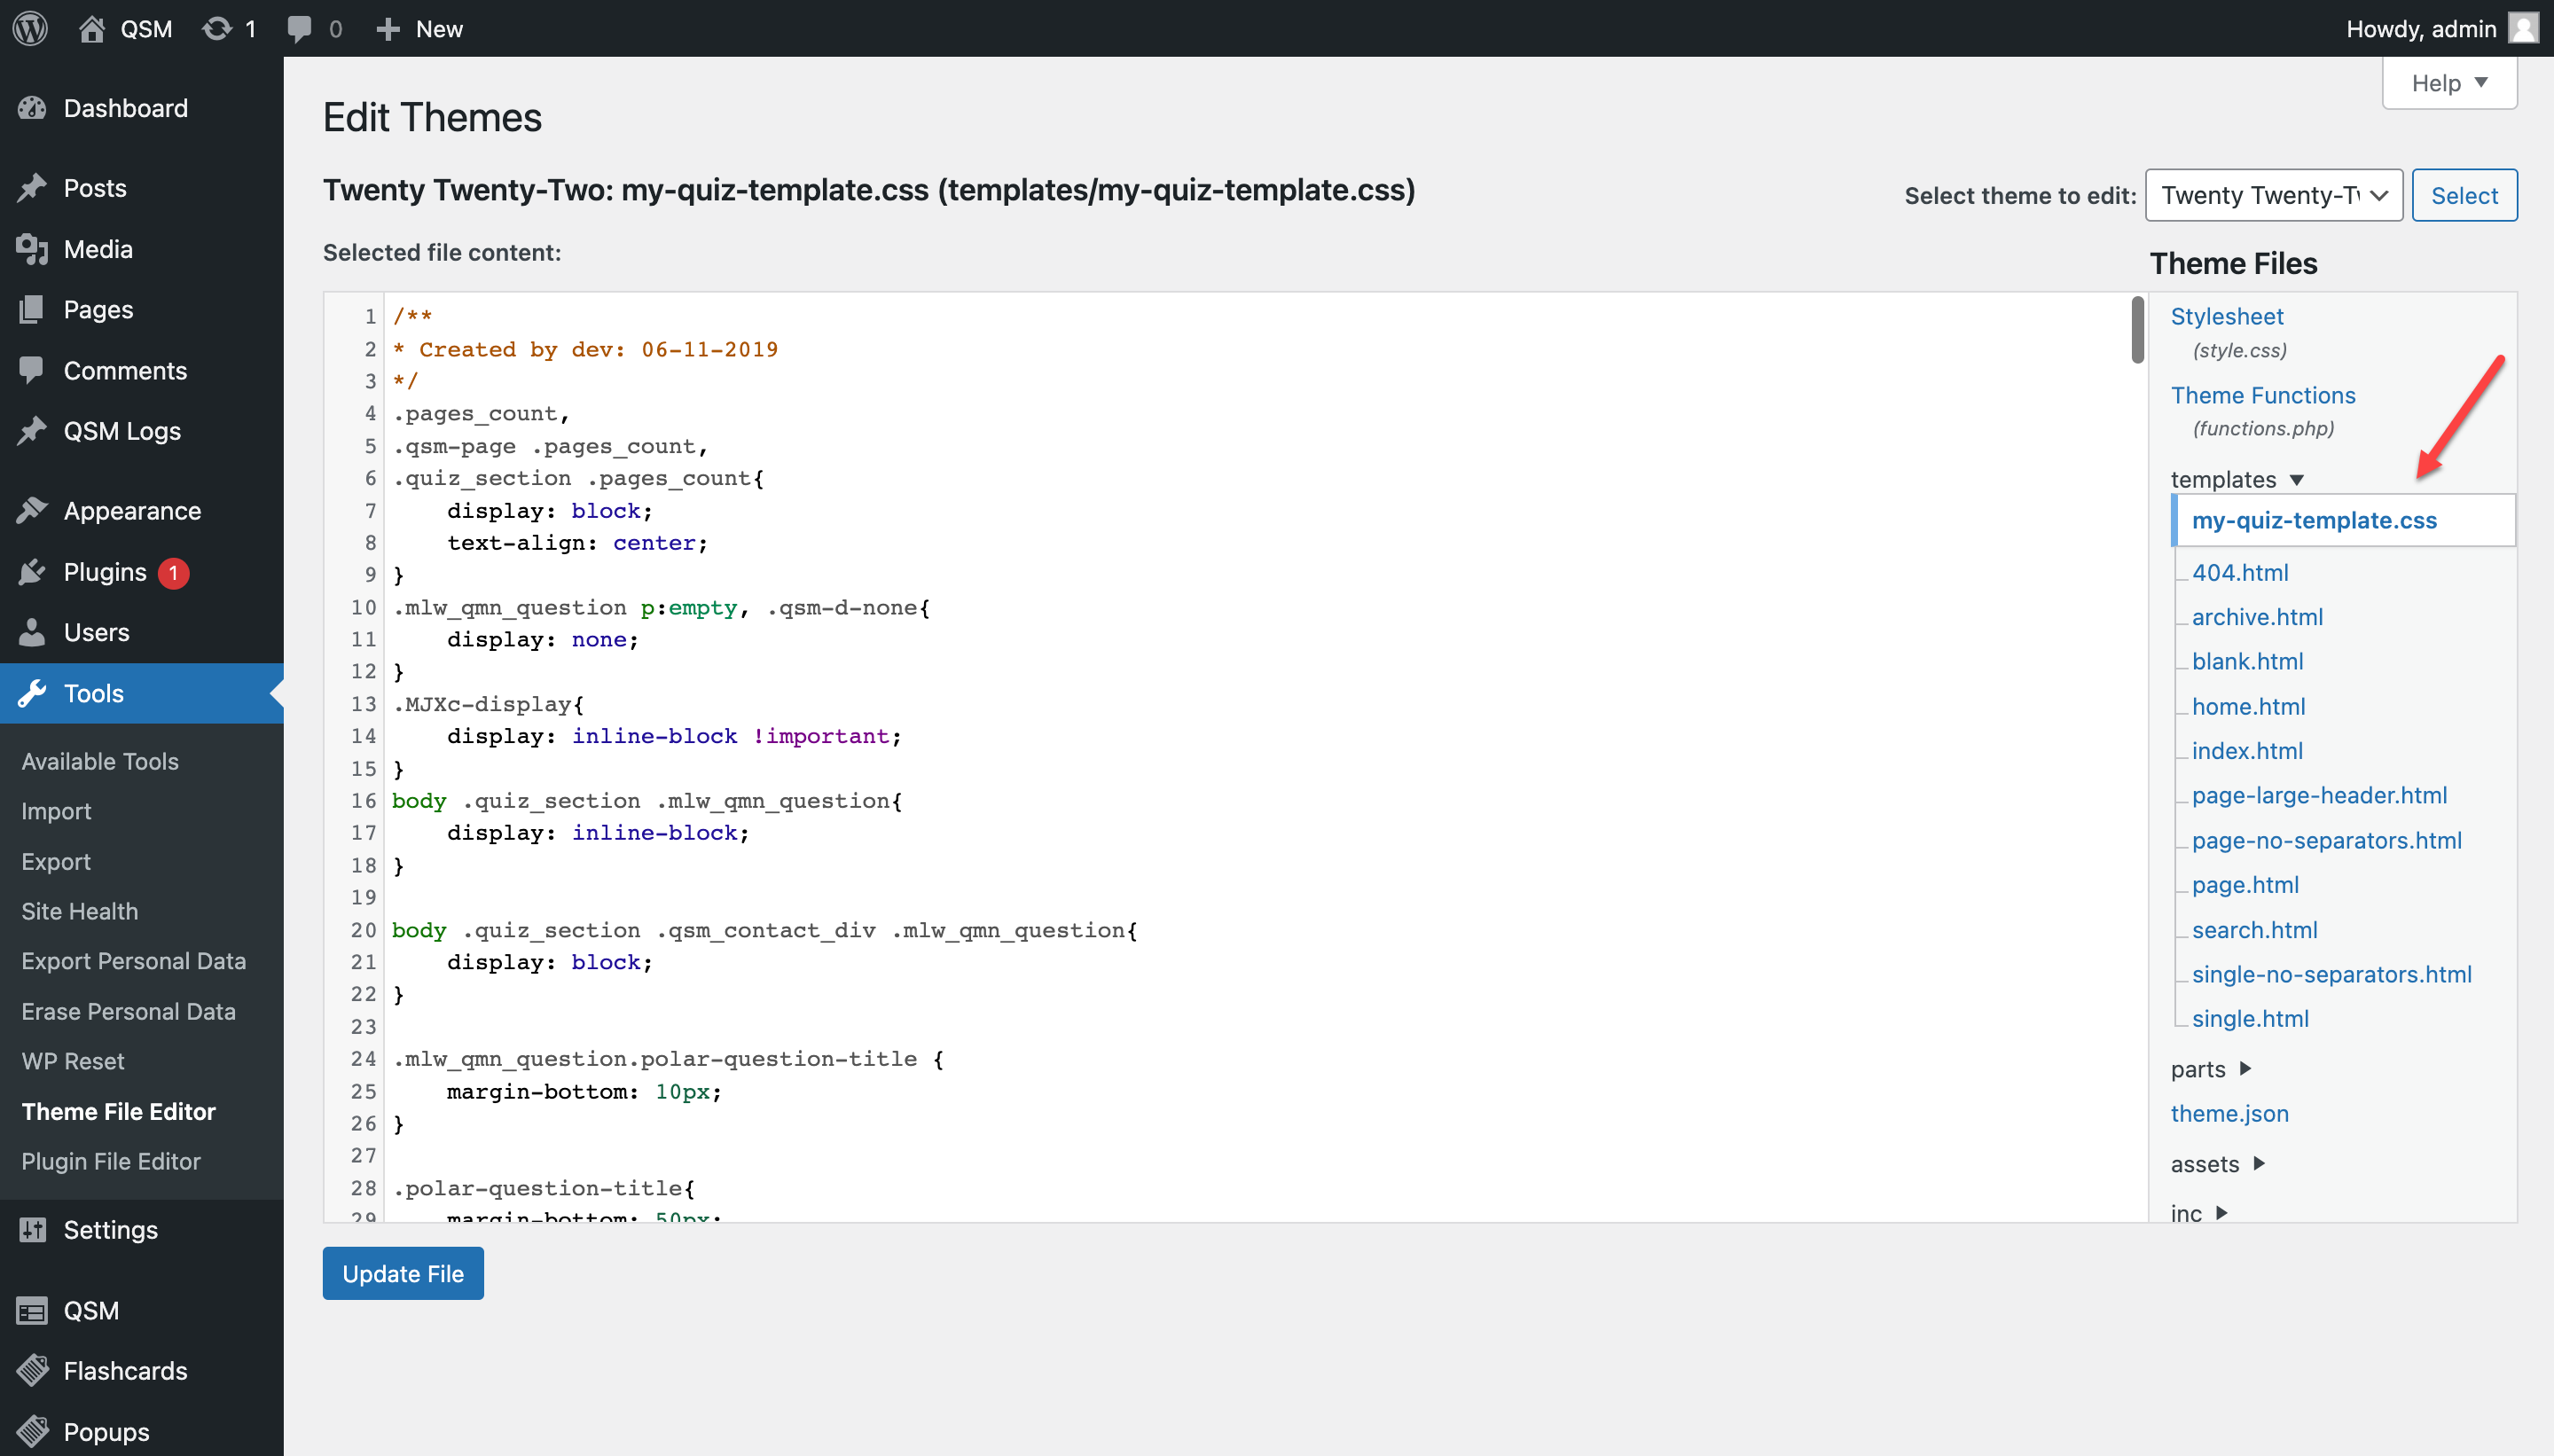
Go to the active theme of your website to Create a CSS File through this path –> wp-content/themes/(your active theme)/templates/my-quiz-template.css and save all of your CSS to a CSS file.

Step 2: Add a hook in functions.php
We can then use the QSM filter hook “register_quiz_templates” function to add the CSS file to our Style tab when editing our quizzes and surveys.
You need to paste the below function in the functions.php file of your active theme. The first Parameter is just your Custom Style Label and make sure the second passed parameter in this function is the same as your CSS file name. In this case, it is “my-quiz-template.css“.
function qmn_register_my_templates() {
	global $mlwQuizMasterNext;
	$mlwQuizMasterNext->pluginHelper->register_quiz_template( 'My Template', 'my-quiz-template.css' );
}
add_action( 'init', 'qmn_register_my_templates' );
If you are using custom plugin then you should use the below code. Paste the code in the main file of your custom plugin.
function qmn_register_my_templates() {
	global $mlwQuizMasterNext;
	$style_path	 = plugin_dir_url( __FILE__ ) . 'my-quiz-template.css';
	$mlwQuizMasterNext->pluginHelper->register_quiz_template( 'My Template', str_replace( site_url(), '', $style_path ) );
}
add_action( 'init', 'qmn_register_my_templates' );
Step 3: Activate your Custom Style Template
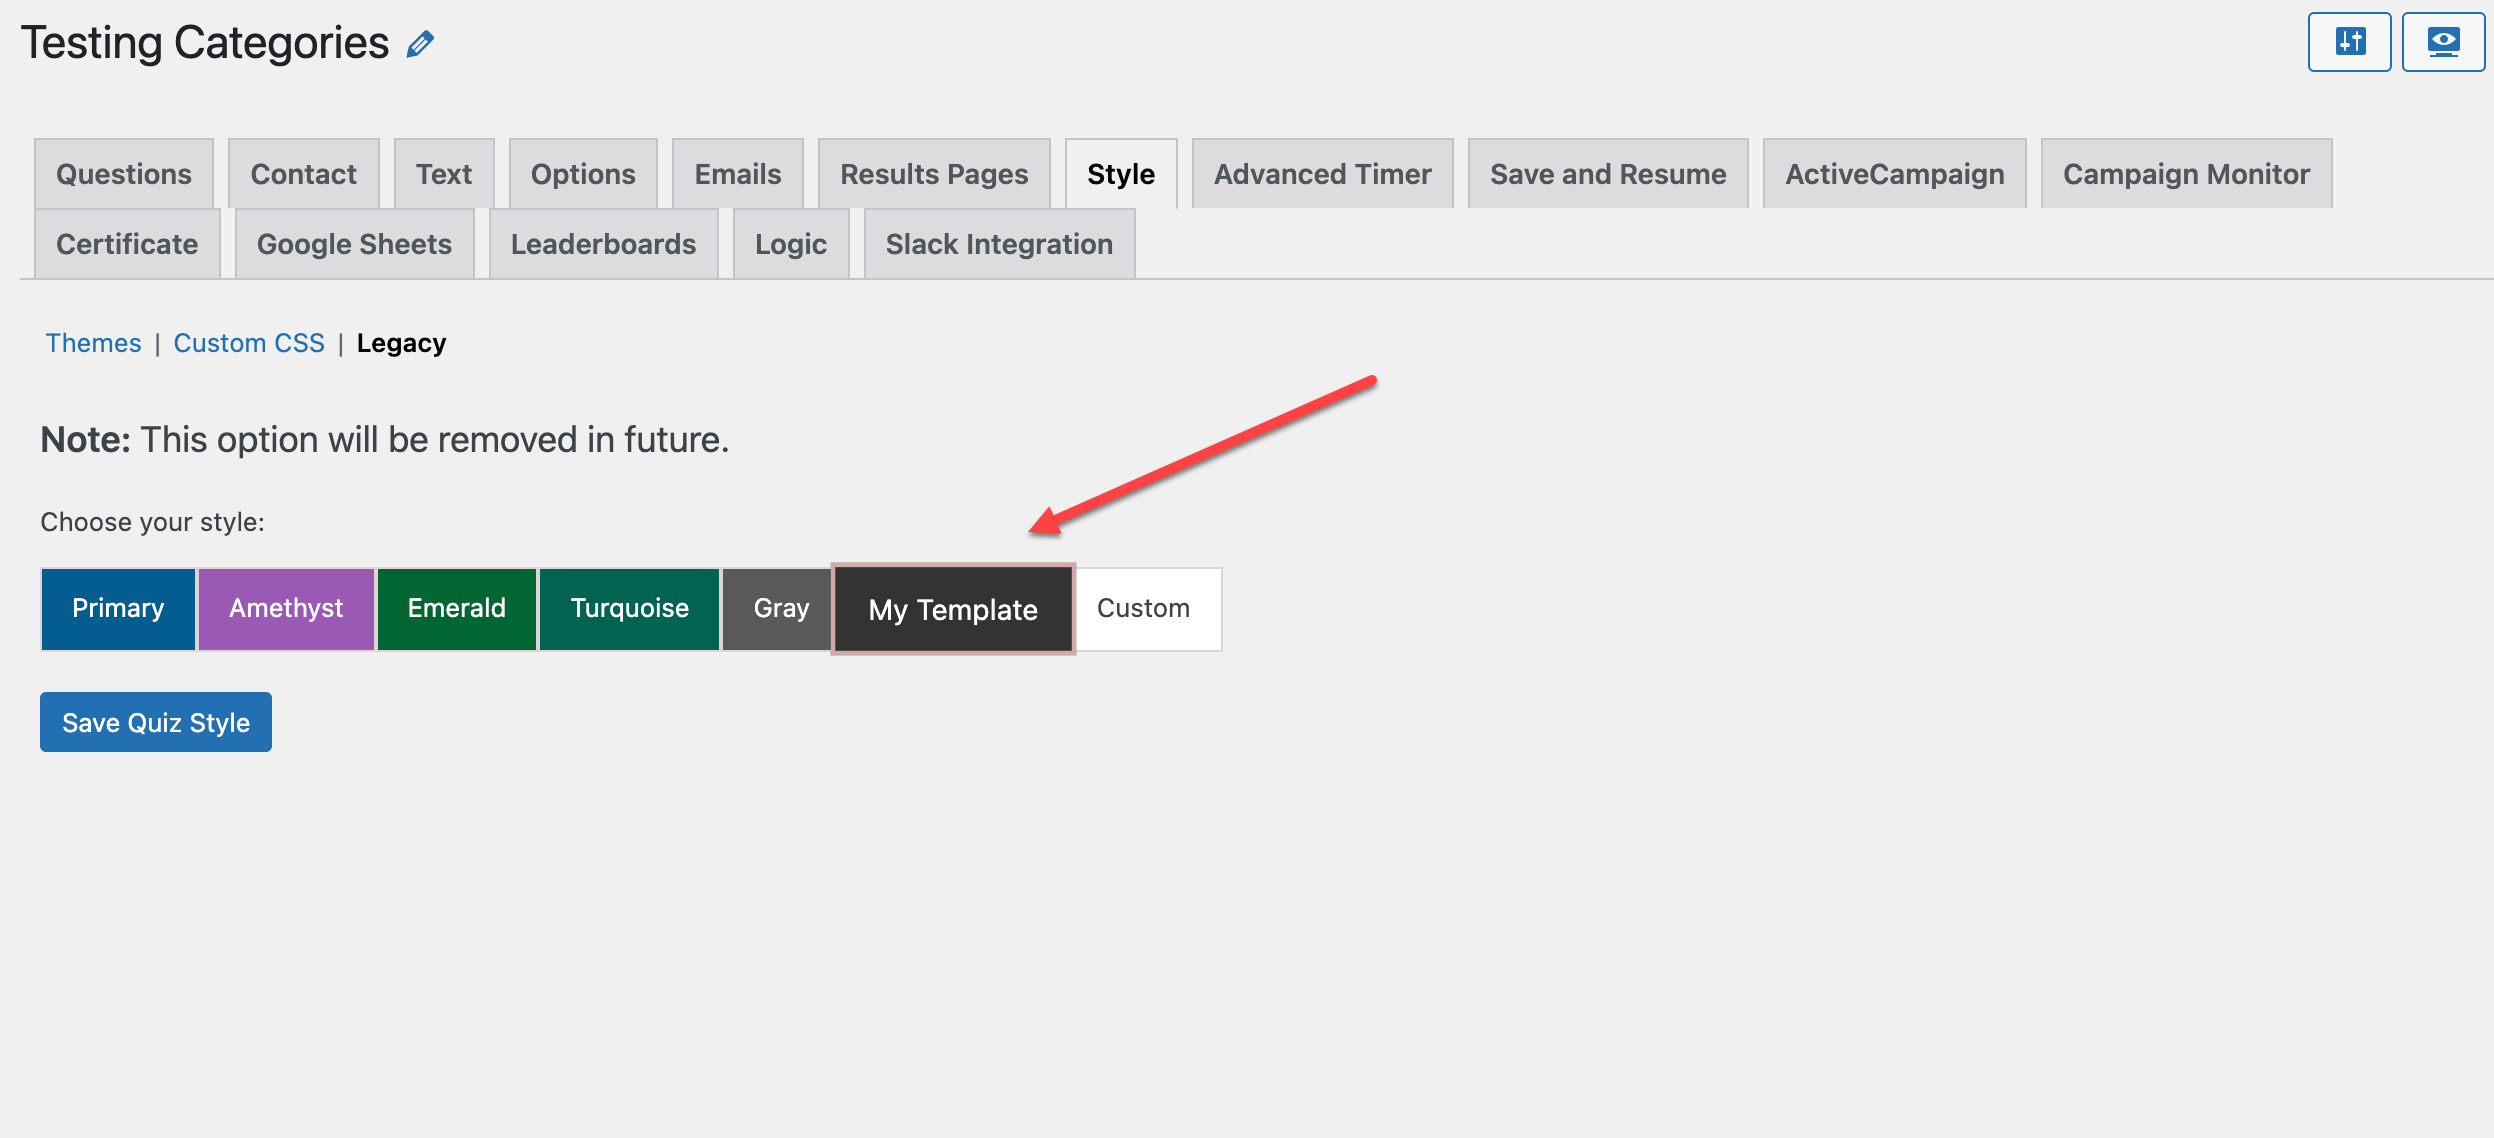
That’s all, the new Style Template will now be visible on your QSM > Edit Quiz > Style Tab.

And then you can add custom CSS according to your design.


